Created by: Cathy Goff
Happy Spring!
Spring and summer are my favorite seasons. So with the sunshine and warmer weather, I am moved to create more light in the areas of my home that have always seemed a little on the darker side, including my kitchen and living room.
This involved removing darker window treatments to let the light in, and taking a hard look at the brick that is around my range in my kitchen and fireplace in my living room. The existing brick was great, but with my quest to lighten things up, I went searching for ways to change it. I decided that I didn’t want to just white wash or paint the brick, because I really wanted the varied colors to come thru, only muted. During one of my binge watching HGTV phases, I saw a process called German Schmear where they applied white mortar to the brick and the mortar in-between, and then wiped it off to create a lighter look, all while allowing some of the color to come thru. I immediately googled it and decided that I was going to tackle it.
The result was amazing. It refreshed the dingy brick and lightened up both my kitchen and living room, all for less than $100.00 for all the materials.
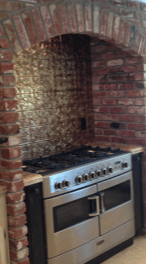
Kitchen Before
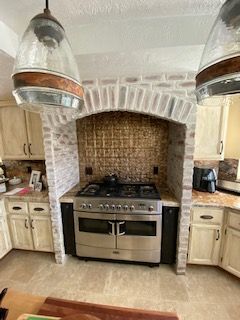
Kitchen After
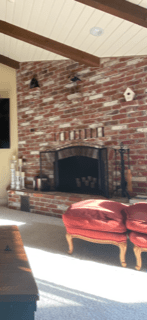
Fireplace Before

Fireplace After
Items you will need:
Rubber Gloves / Heavy Duty Sponges / Trowel / Buckets (2) one for mortar and one for water / White thin set mortar (which I found in the tile section of the hardware store) this comes in 50 lb. bags / painters tape / plastic sheeting/mortar piping bag /stiff brush to clean area before starting.
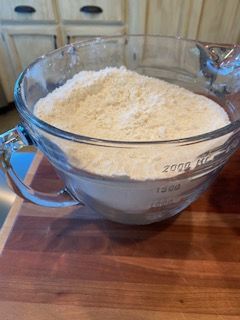
Once your area is prepped, clean and dirt and dust free, add desired amount of mortar to the bucket and mix with water. You will need to eyeball this. You don’t want the bucket to be to heavy to carry or mix more mortar than you will need ( see photos). You want the mortar to be the consistency of frosting, not too wet or too dry.
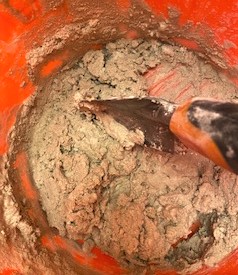
Mortar Step 1
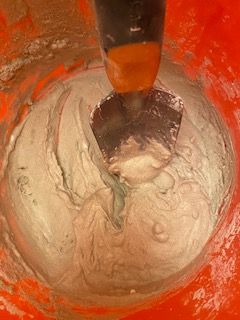
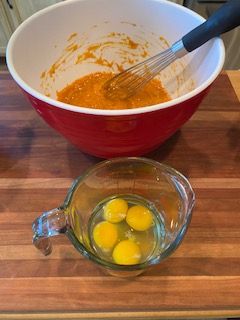
Mortar Step 2
Once you have your mortar mixture, use either your piping bag, or trowel to spread mortar to your area, making sure to work sections at a time. Once it is spread, then using your wet sponge, wipe the area, working the mortar between the bricks and wiping the brick to remove excess mortar and expose the amount of brick color that you desire. The mortar will be fully dry within 24 hours.
Even though the process was simple, it was labor intensive, but so worth it.
In the end, I took a risk, refreshed my home, and let the light in….
Change is good…
Cathy